

How to Paint a Mountain Mural
Here's how I transformed the blank wall in my office into a fun "virtual" background
I interrupt my typical post types to bring you this quick DIY tutorial. —WW 😊
There are two blank walls in my current home that are just begging for some sort of mural. One is the wall visible behind me when I sit in the many virtual meetings that help fill my work days. The more I thought about it, the more I decided that empty space needed some mountains, in honor of the mountains visible all around me in the Treasure Valley of Idaho. If it worked out well, I figured, I’d have my own very real “virtual” background. 😉

My searches online found a few examples that were helpful (this one and this one were the best). For example, here are the best tips I gleaned from others who went before me:
I learned it would save a lot of money to purchase only two cans of paint: one for the lightest and another for the darkest. Then, I could create as many other shades in between those colors simply by mixing the two.
Flat paint is the best.
After seeing the options, I decided to start at the top with the lightest color.
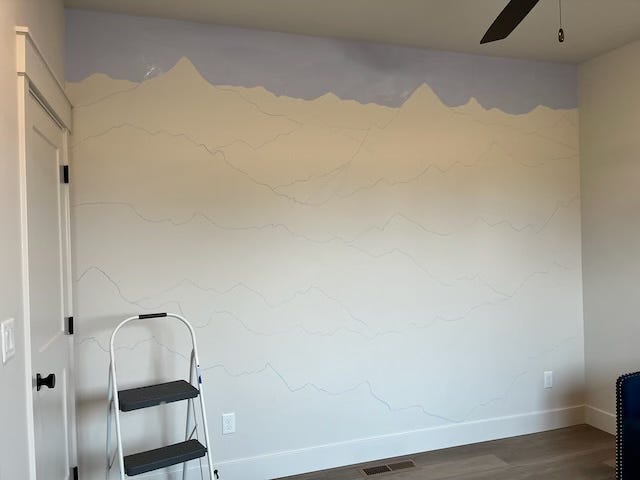
Chalk works really well to draw out the mountains ahead of time—it’s easy to paint over and erase if needed.
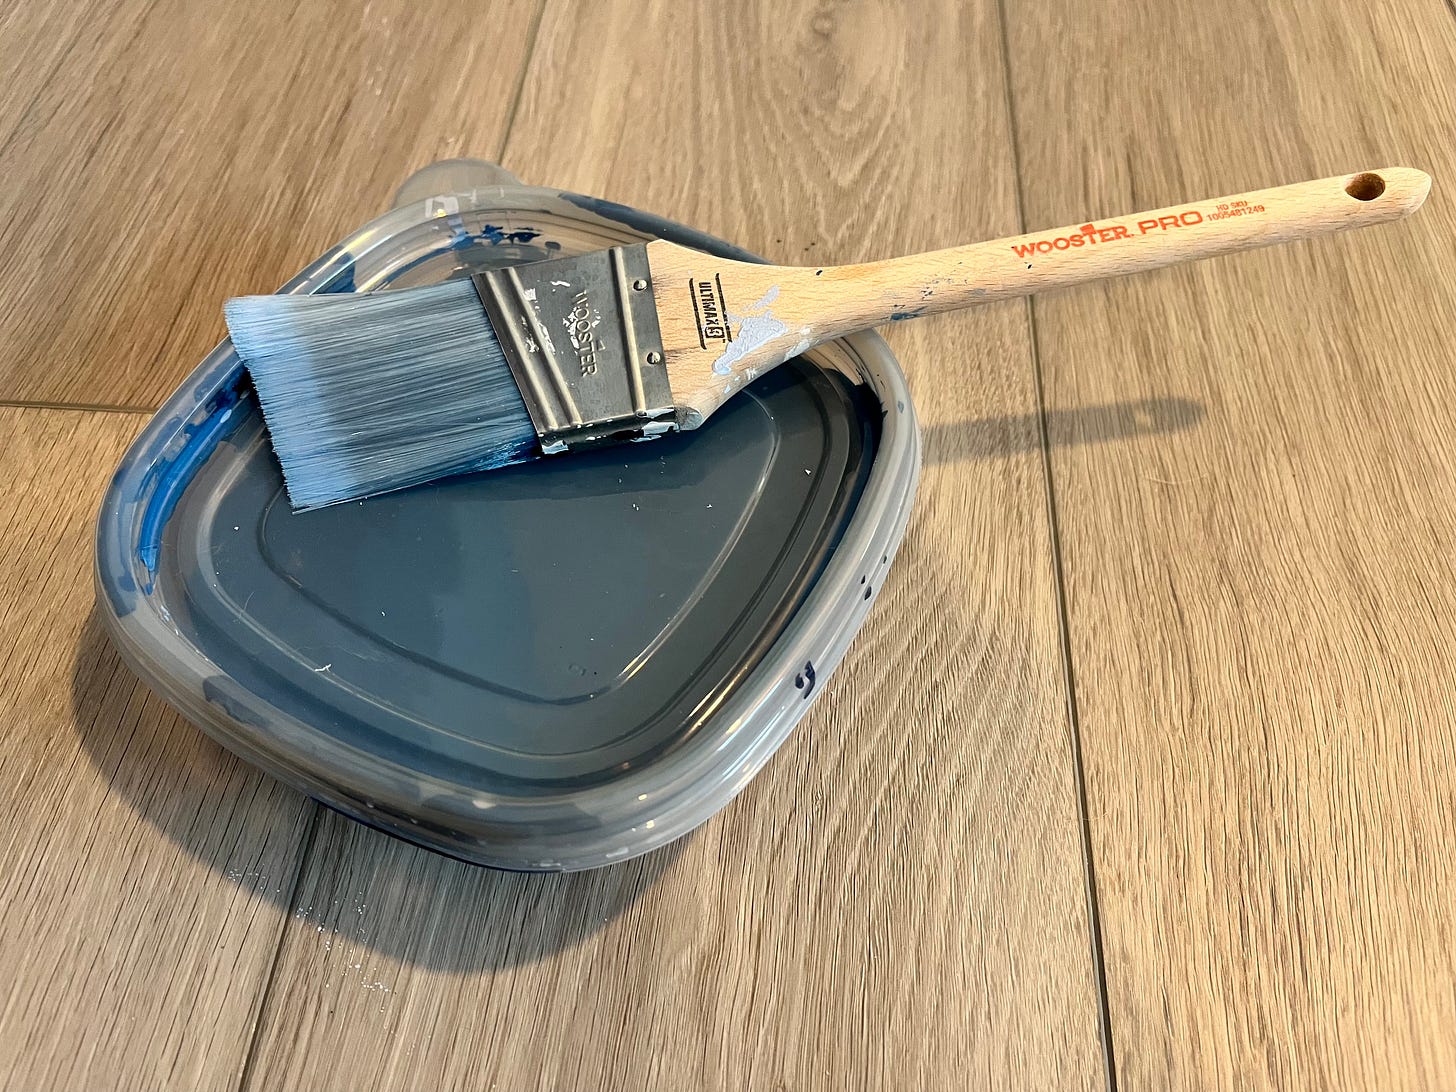
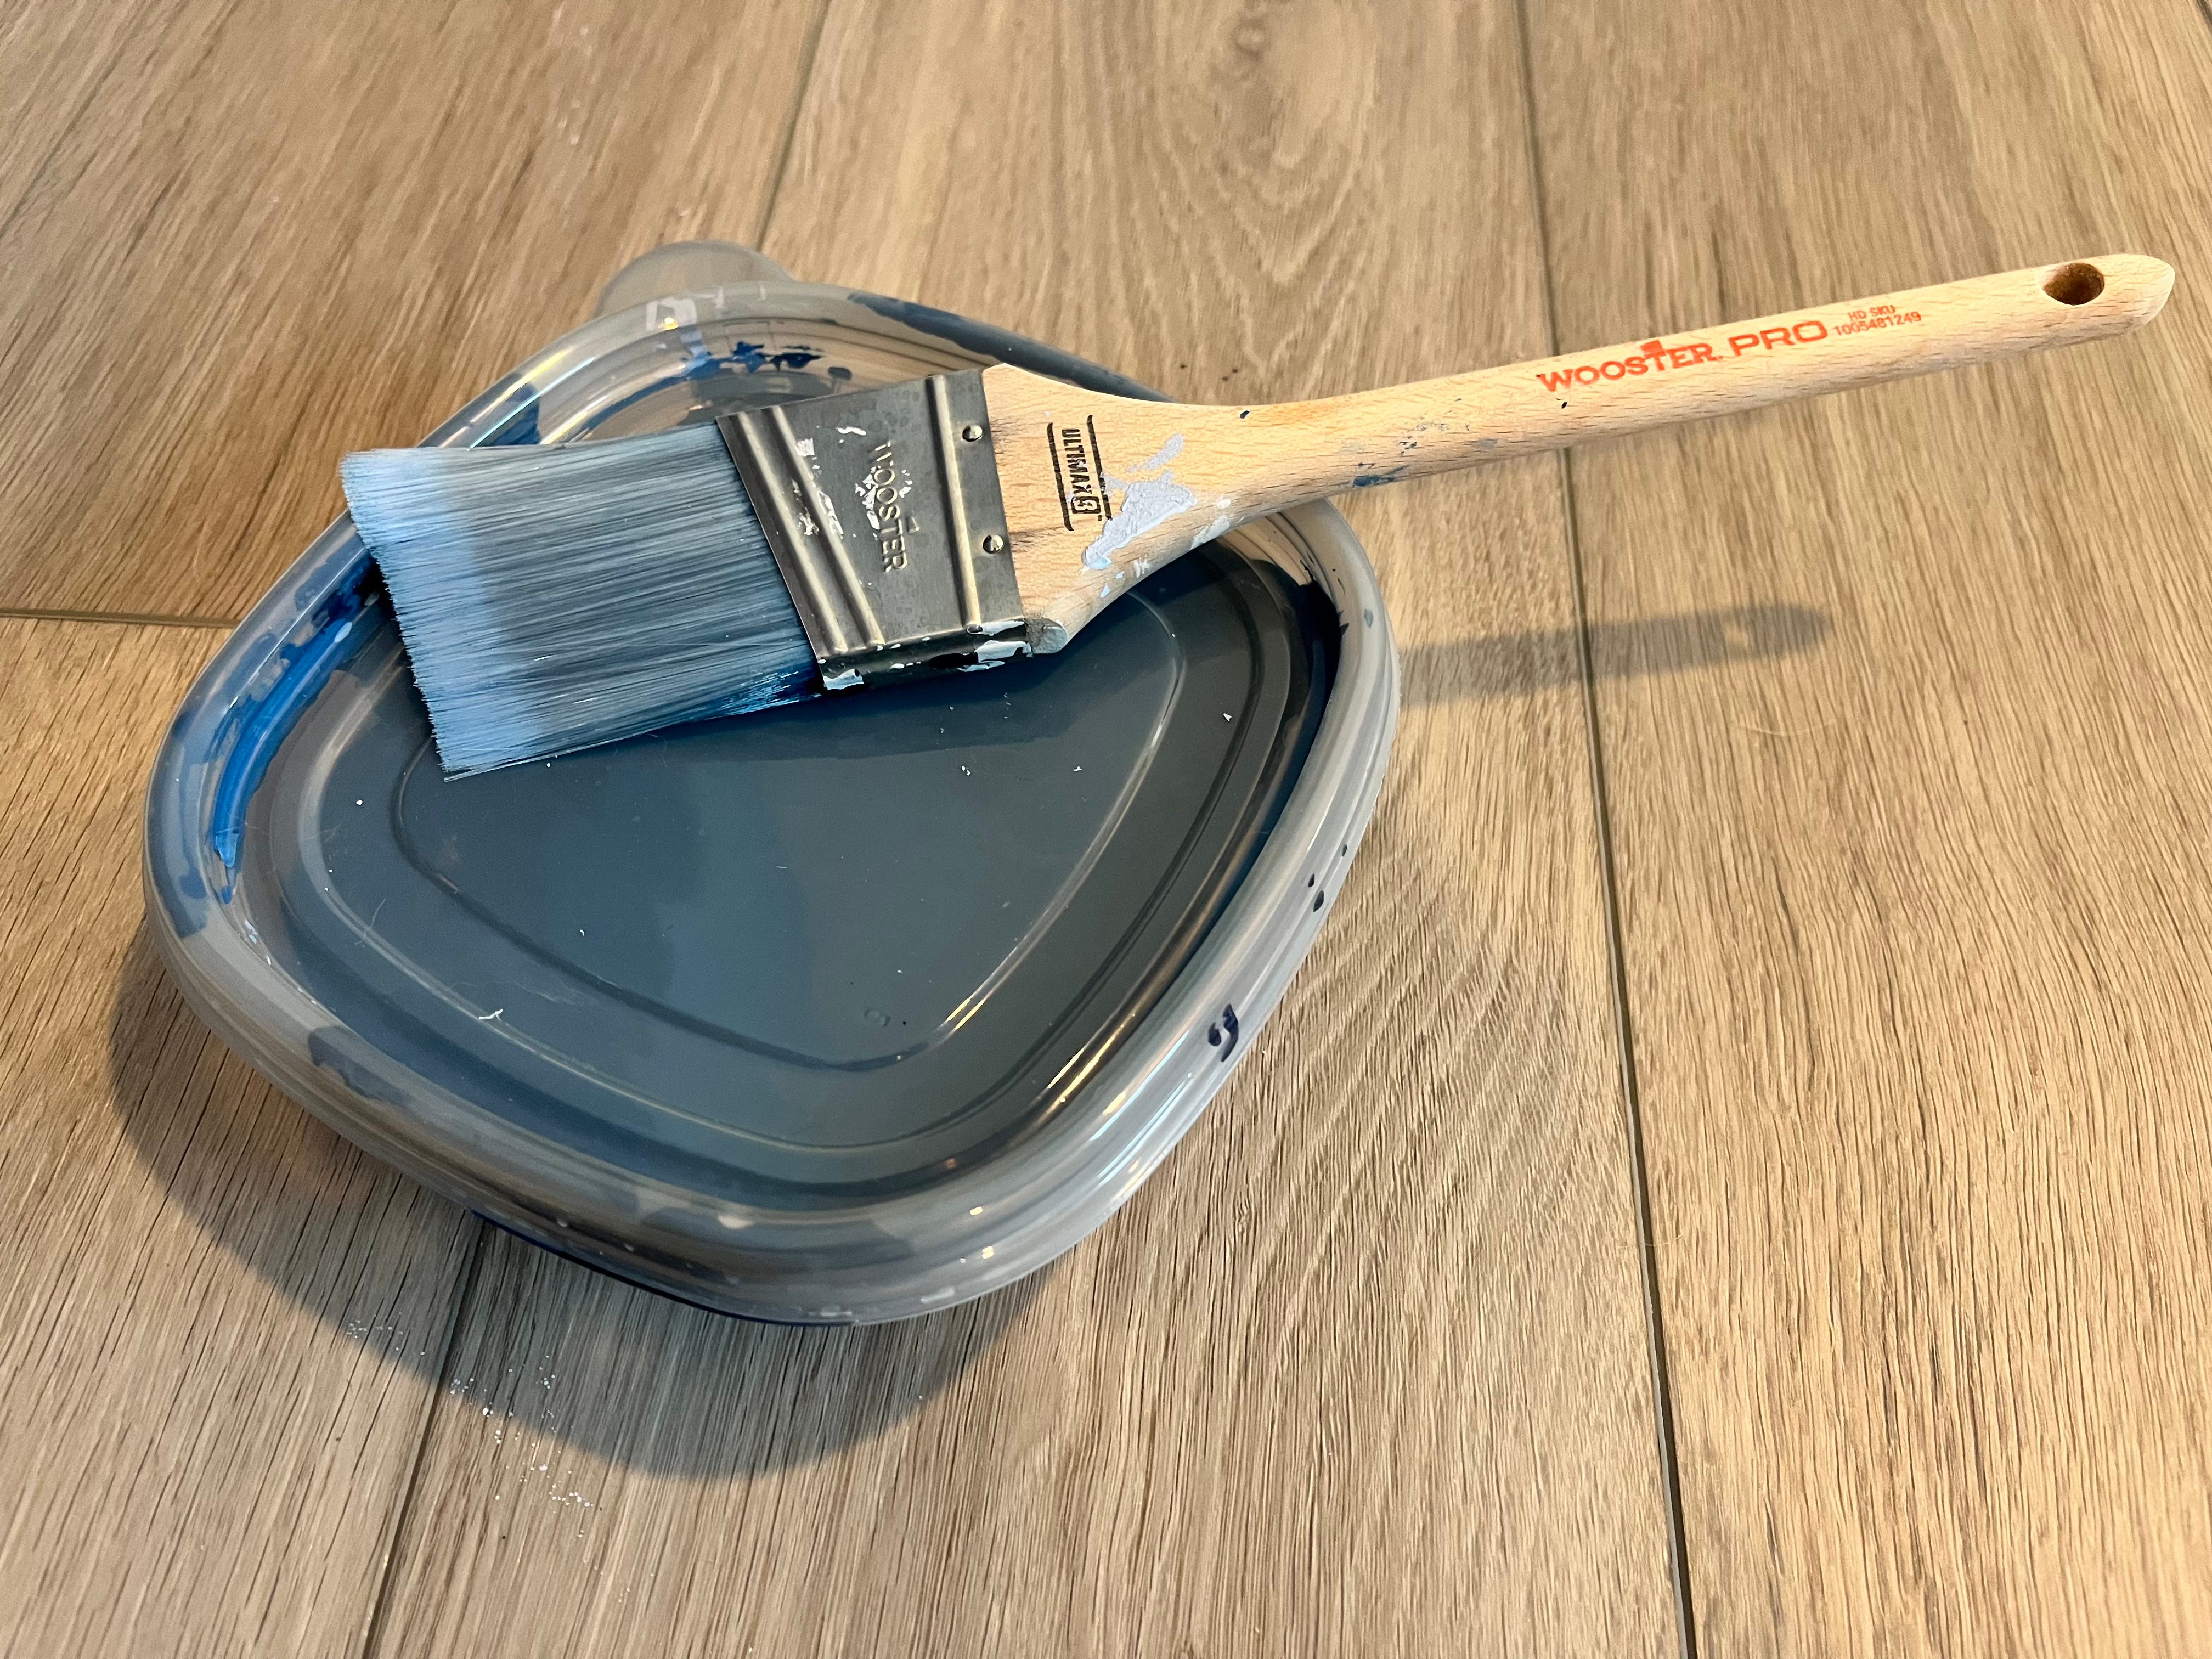
A 2” angled brush is my preferred tool of choice. It allows me to “freehand” a bit as needed. I decided not to use a roller for the larger sections, but you could do that if you prefer. I did also have a 3” angled brush that I used for some bigger areas.
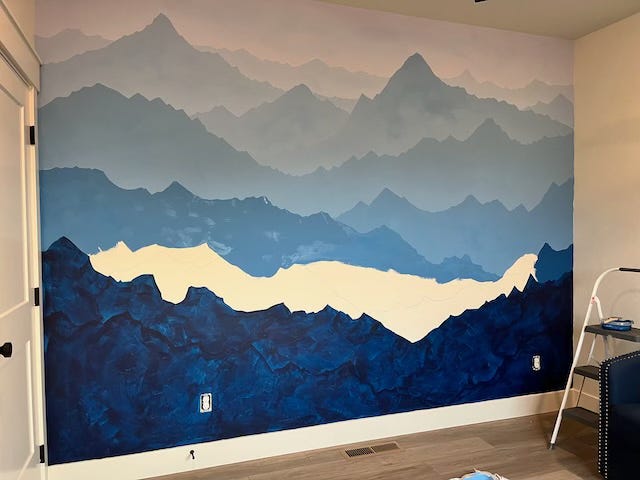
Beyond that, however, I learned even more from the actual experience. So I decided to write a post listing all the things I wish I’d known, and what I’d do differently next time. Before I jump to that list, here are some photos to show the progression and a quick look at the numbers:
Time spent: ~6 hours
Dollars spent: ~$50 for two quarts of paint (on sale BOGO 50%) and an 2” angled paintbrush (I already had a piece of chalk, another brush, and some reusable plastic containers)
Mountain layers: 9
Coats of paint: each layer took about 2 coats, except for the darkest color, which took 3


Now, here’s what I’d do next time…
Tape off the edges of the wall, to get clean lines along the baseboard, ceiling, and to the left/right sides.
Get the right supplies:
There’s no need to purchase fancy paint holders for this project. (I was able to return $40 worth of those!) Instead, get a set of 2-3 cup reusable plastic containers and lids from the grocery store for a few bucks. You’ll want to have one container for each shade.
Purchase a quart of the lightest and darkest color in your sequence. (I read others saying they only needed two quarts and I was convinced that wasn’t enough paint so I bought a whole gallon of the lightest color. And this is why I have 80% of that gallup still sitting in my garage. Lesson learned: a quart of each is enough.)
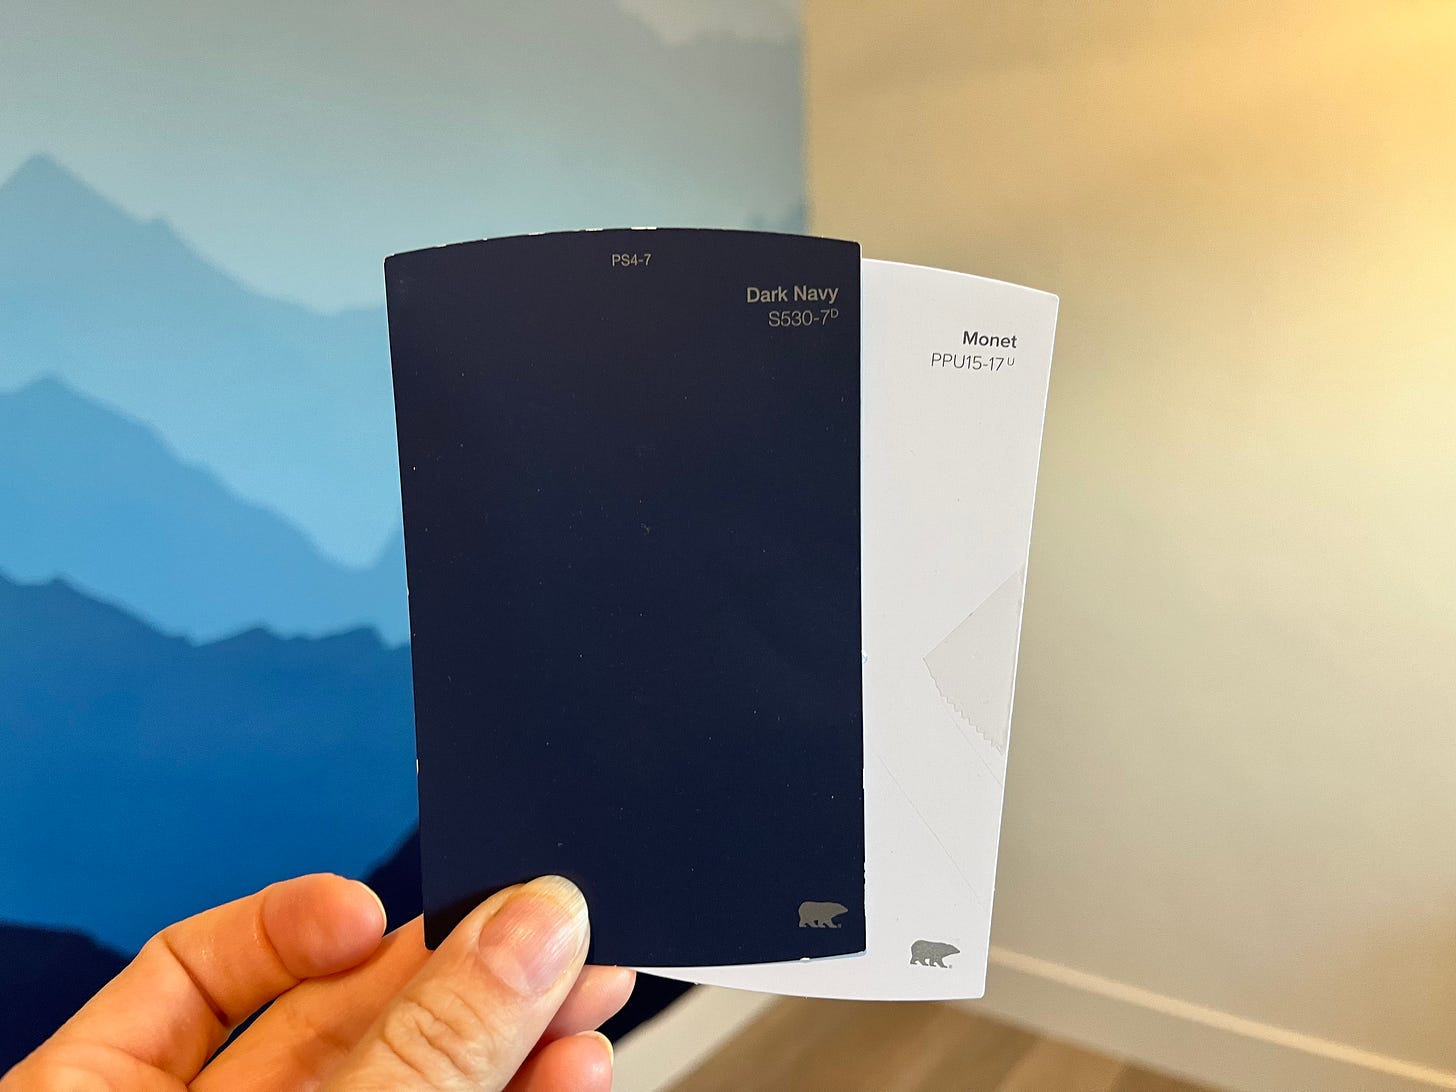
Here are the two colors I used
Start with the lightest color (straight out of that quart of paint).
After that’s finished, it’s time to mix up one shade darker. Place a scoop of the lightest color in one container (I used a kitchen ladle), then add 2 tablespoons of the darkest color. Mix well. (I reiterate: mix well!) Paint.
This part I did well. What I didn’t do, however, was save this color for touch-ups. Instead, I painted a layer and then proceeded to add two more tablespoons of the dark color to achieve the next layer’s shade. This became problematic when I realized the need for touch-ups later. 🤦🏽♀️ About halfway through I started saving each layer’s shade and things went much smoother.
So here’s the point: cover and save this shade. Mark the lid to identify which color this is! (I did not do this, and made the mistake of painting the wrong shade in one area, requiring me to redo that section after it dried and I realized my error.)
I ended up saving each color in containers like this
Then repeat the same process for each of the subsequent shades and paint accordingly. I found most layers needed two coats but that will depend on the color and quality of your paint. (My darkest two layers required three coats.)
Step back and review your work, then adjust as needed. I changed the shape of many color blocks several times. This type of mural is extremely forgiving and easy to adjust as you’re going along.

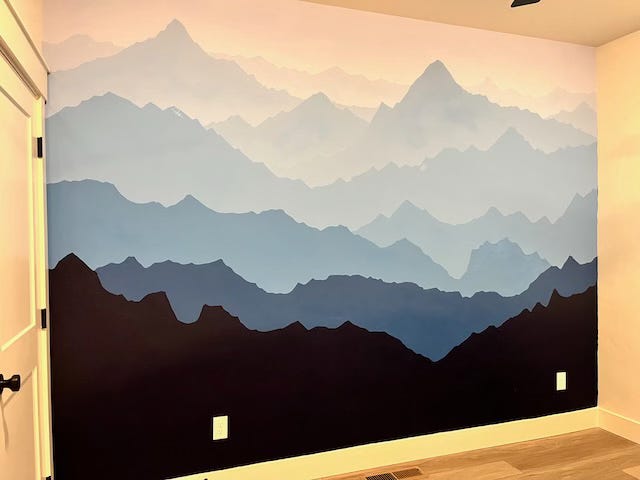
I can honestly say this was a ton of fun. I hope to do another one—maybe of a different type of landscape?—on the other wall I have in mind. In the meantime, I enjoy not having a blank white wall behind me when I chat with colleagues and customers on Teams or Zoom.
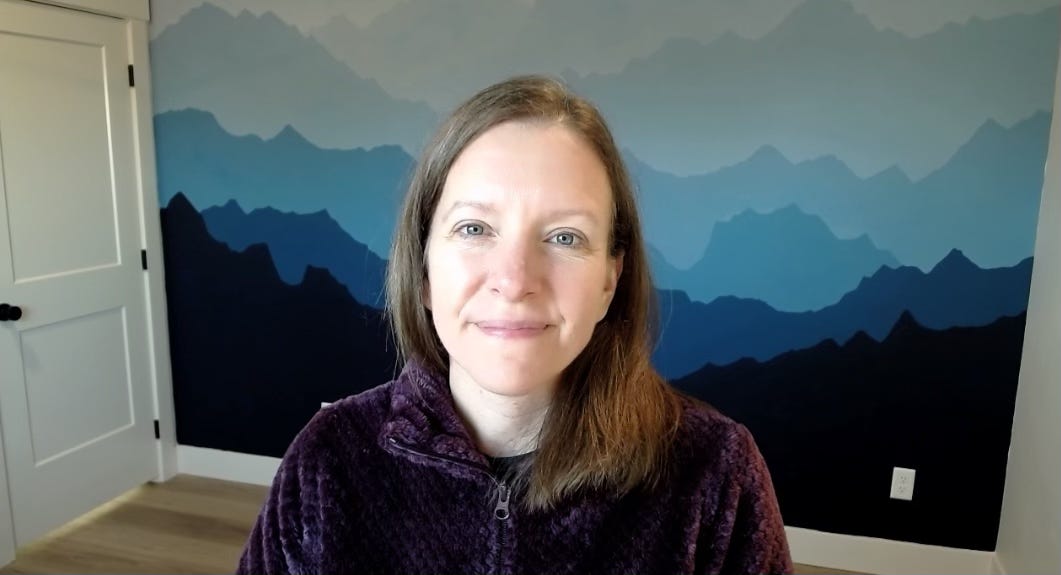
Beautiful!